Did you know Windows 10 has a speed test feature you can easily run from the CMD prompt?
This feature is what many USB flash drive speed test applications call upon during their operation. Some people feel uncomfortable downloading software from an unknown source, so this article will explain how to use Windows features everyone already has for checking the speed of a USB flash drive, or any storage device.
TIP: The company which owns this website (Nexcopy Inc.) took the below information and wrapped it into a GUI (Graphical User Interface). The free GUI is easier to use because you can click a button rather than type in commands in the CMD prompt window. We baked in a couple extra USB benchmark speed features {wink}. Our free GUI version is here.
Every flash drive manufacturer claims a particular read and write speed of their flash drive and this is a great tool to verify what you purchased is what you received. It’s been said manufacturers will manipulate their computer environment to optimize the performance and use those optimized results as their marketing material. This could be true when a manufacturer is trying to determine the maximum performance, so let’s take a look now at benchmarking a standard environment.
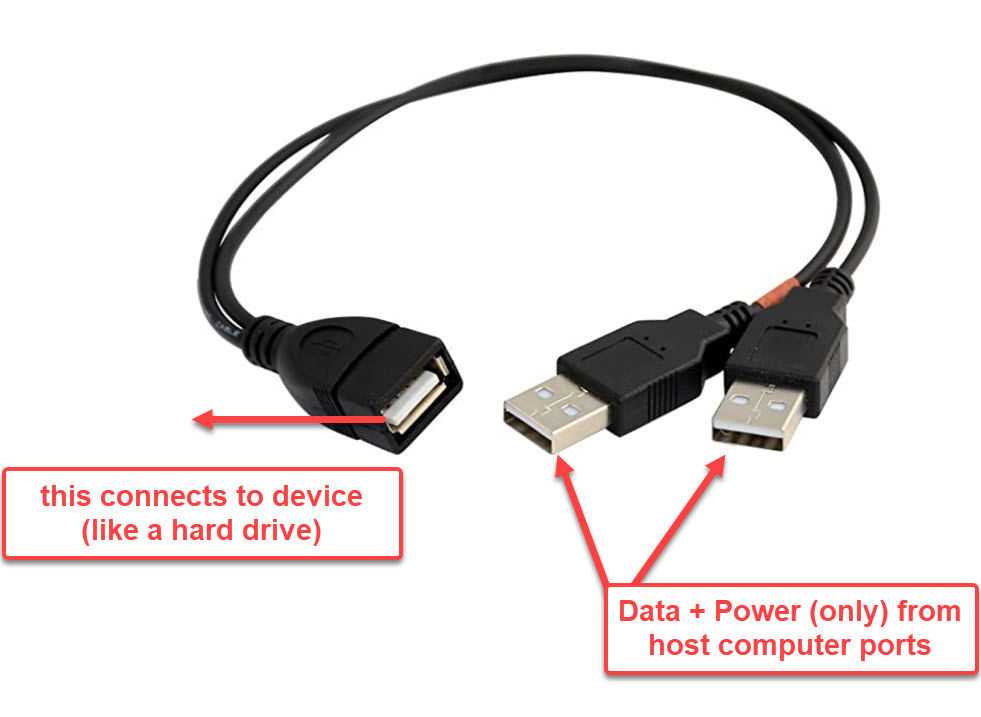
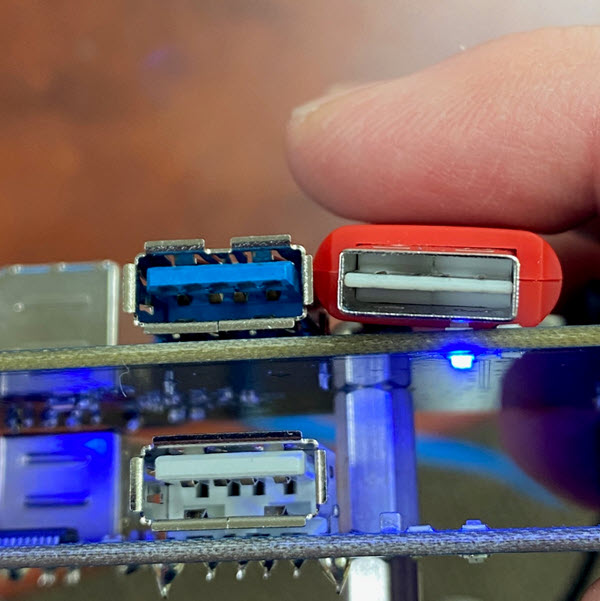
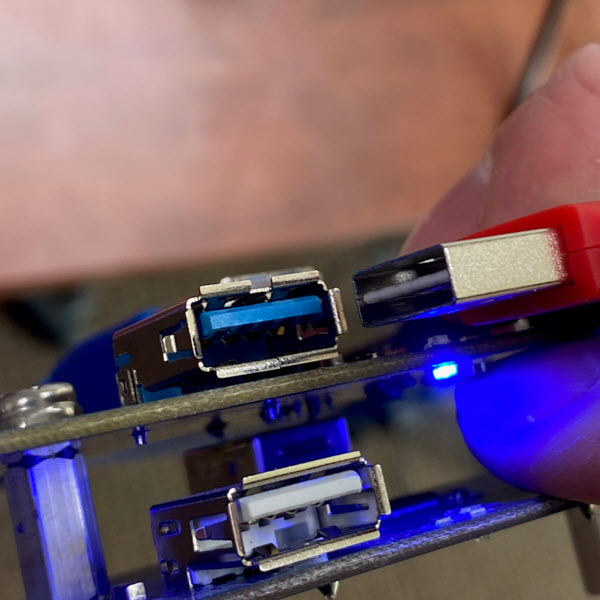
The read and write speed of a flash drive will depend on the USB port one is using during the test. You will see a performance difference between a USB 2.0 and USB 3.0 device that is connected to a USB 2.0 or USB 3.0 socket on your computer. So take note about what you are doing!
After you’ve connected the USB drive to your USB port, take note of which technology they are, and be sure no data is on your drive. Although this Windows utility did not remove our data during testing, one can never be too sure.
In Windows type CMD into the search field.
Please be sure to use the Ctrl + Shift keys when you click the Enter key. This will run the command prompt at the Administrator level. You want to run this at the Admin level because if you don’t, a separate window will pop up during the testing process and immediately disappear with the process is done… taking the speed test results with it!

Once you’ve opened the command prompt at the Admin level, type the following:
winsat disk -drive d (where d is drive letter)
Windows will perform it’s task and should take about one minute to complete. The results will be printed out in the console window once everything is complete. Take note from our example below. This is a 64GB drive which we connected to both a USB 2.0 socket and a USB 3.0 socket. You can see the performance difference.
The information you want are:
- > Disk Sequential 64.0 Read
- > Disk Sequential 64.0 Write

Nice feature, right? Free and immediately available.
For those who don’t want to go this far, you could always take a large file, say 100MBs or larger and drag-and-drop this to your USB flash drive for speed testing. Just look at the copy process window and you’ll get a fairly good idea of device speed.

It’s important to remember flash drive media does not copy at sustained transfer speeds. The speed process does move around during the copy process; however, the read process is more stable and should happen at a more sustained transfer speed. We’ve seen drives drop down to 1MB/second for a short bit, before jumping back up to 30+MB/second write speed.